

In the world of DevOps, automation is key to ensuring efficient, repeatable, and scalable deployments. Ansible is one of the more important tools in a DevOps Engineer’s tool belt. Recently, I embarked on a project to automate the setup of a WordPress blog in AWS, leveraging Ansible for configuration management and GitHub Actions for CI/CD. This article will walk you through the project, its components, and the steps involved in automating the WordPress setup.
What is Ansible?
Ansible is an open-source automation tool used for configuration management, application deployment, and task automation. It allows you to define your infrastructure as code in simple, human-readable YAML files called playbooks. By using a push-based model, Ansible can execute tasks on remote systems without needing an agent installed, making it easy to manage large-scale environments. Ansible’s simplicity and powerful automation capabilities make it a popular choice for DevOps engineers looking to streamline and automate their IT operations.
Project Overview
This project consists of three main elements to get WordPress running and accessible:
- Infrastructure as Code (IaC) with Terraform: We use Terraform to provision the necessary AWS resources, including EC2 instances, an RDS database, and an EFS for persistent storage.
- Configuration Management with Ansible: Ansible is used to configure the EC2 instance, install necessary packages, and deploy the WordPress application.
- Continuous Integration/Continuous Deployment (CI/CD) with GitHub Actions: GitHub Actions automate the workflow, from pushing code changes to deploying the WordPress blog.
Infrastructure as Code (IaC) with Terraform.
There are many Infrastructure as Code tools to choose from including Terraform, AWS CloudFormation, Pulumni and more. Terraform is my choice due to its ability to be cloud agnostic and support from many different vendors. I have gone into more detail on Terraform in past articles so I won’t do that here. But I will give an overview on the infrastructure we will be creating with it in this project.
You can view the Terraform script here.

- VPC: A virtual private cloud for our resources to be deployed into. We have two public subnets and two private subnets. On top of this we create an internet gateway so resources inside to VPC can be made accessible via the web.
- Application Load Balancer (ALB): This is added for two reasons:
- In a scenario where the site is getting excess traffic we may want to have a scalable architecture. Meaning the use of an Auto-Scaling group to increase and decrease instance count based on traffic. An ALB will make sure traffic gets distributed evenly amongst multiple instances.
- An ALB will easily allow to attach an ACM certificate to it. Allowing for the use of HTTPS and your own custom domain name.
- EC2 Instance: This is the virtual machine which Ansible will connect to and deploy WordPress. This configuration uses an Amazon Linux AMI.
- RDS Instance: The database that WordPress will connect to. This configuration uses MySQL 5.7.
- Elastic File System (EFS): This is the network attached file storage in the VPC. This will store WordPress files so that the site will persist past a single EC2 instance.
Configuration Management with Ansible
The Ansible playbook is designed to automate the setup of a WordPress blog on an AWS EC2 instance, ensuring that the environment is correctly configured and all necessary components are installed. The process begins by updating all system packages to their latest versions to ensure that the server is up-to-date and secure. Next, it installs the Amazon EFS Utilities to handle the mounting of an Elastic File System (EFS), which provides persistent storage for the WordPress installation. A directory is created for the EFS mount point, and the EFS file system is mounted securely.
Following the environment preparation, the playbook installs Apache and PHP, including various PHP extensions required for WordPress. This setup includes ensuring that Apache is running and configured to start on boot. Additionally, the playbook installs the MySQL client, which is necessary for WordPress to interact with the RDS database. The playbook then downloads the latest version of WordPress, extracts it to the EFS, and sets the appropriate ownership and permissions.
To finalize the setup, the playbook configures the WordPress installation by using a template for the wp-config.php file, which includes database connection details and other configurations. The Apache configuration is also updated to set the DocumentRoot to the WordPress directory on the EFS and adjust directory settings to allow necessary overrides and permissions. Finally, Apache is restarted to apply all changes, ensuring that the WordPress site is ready to be accessed. This comprehensive automation with Ansible ensures a consistent and reliable deployment of WordPress, saving time and reducing the risk of manual errors.
Continuous Integration/Continuous Deployment (CI/CD) with GitHub Actions
The GitHub Actions workflow automates the deployment and configuration of a WordPress blog on AWS. It integrates with Terraform for infrastructure provisioning and Ansible for environment configuration, ensuring a seamless CI/CD pipeline. This workflow is triggered by a push to the master branch or manually through the GitHub interface.
Workflow Steps
- Checkout Repository: The workflow starts by checking out the repository using
actions/checkout@v3, ensuring that the latest code is available for the deployment process. - Configure AWS Credentials: The workflow configures AWS credentials using the
aws-actions/configure-aws-credentials@v2action. It leverages GitHub secrets to securely manage sensitive information such as the AWS region and the role to assume, ensuring secure access to AWS resources. - Setup Terraform: The workflow sets up Terraform using
hashicorp/setup-terraform@v2to manage infrastructure as code. It initializes Terraform and applies the configurations to provision the necessary AWS resources, such as EC2 instances, RDS databases, and EFS storage. Environment variables for database credentials are passed securely using GitHub secrets. - Capture and Print Terraform Outputs: After provisioning the infrastructure, the workflow captures the outputs from Terraform, such as the EC2 instance IP, availability zone, RDS endpoint, and EFS ID. These outputs are stored in GitHub environment variables for use in subsequent steps.
- Setup SSH Key and Wait for EC2 Instance: The workflow sets up the SSH key for secure access to the EC2 instance. It waits for the EC2 instance to be ready, ensuring that the instance is accessible for configuration.
- Prepare Ansible Inventory: The workflow prepares an Ansible inventory file, which includes the details of the EC2 instance, such as its IP address and SSH key. This inventory is essential for Ansible to connect to the EC2 instance and perform configuration tasks.
- Add EC2 Host Key to Known Hosts: The workflow adds the EC2 instance’s SSH host key to the known hosts file, ensuring that Ansible can connect to the instance without SSH key verification issues.
- Run Ansible Playbook: Finally, the workflow runs the Ansible playbook to configure the EC2 instance. The playbook installs and configures necessary software, including Apache, PHP, MySQL client, and WordPress. Environment variables and secrets are used to provide the necessary configurations for WordPress.
Finished!
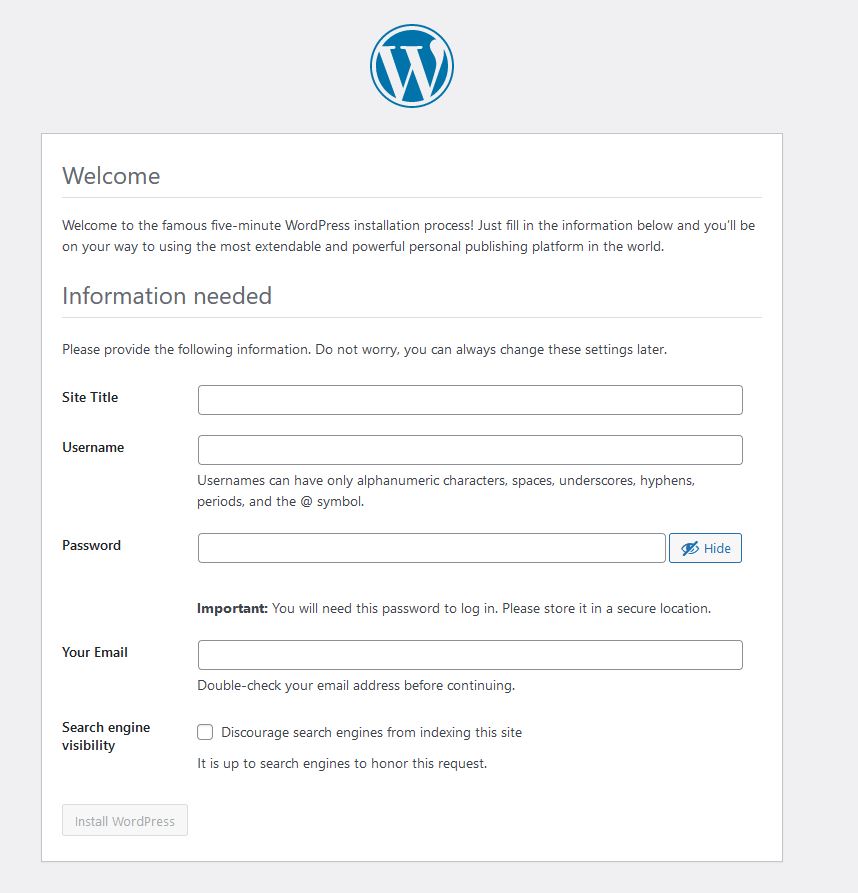
After these steps your WordPress site will be running! From here you can configure your site title and an admin login. You can verify this by going to the domain of your Application Load Balancer. An easy way to find this is through the AWS console and going to EC2 > Load Balancers > select your load balancer.
I hope this post has been informative and inspires you to take on some cool projects with Ansible! If you have any questions on this setup dont hesitate to reach out to me in the comments section or on Linkedin.
Leave a Reply